I’ve been futzing around with a Dell AX-4510c for a hot minute, trying to get Azure Local working in Azure Government. It’s not an easy task – things don’t “just work” and you’re going to spend a lot of time redoing things trying to get it right.
One of the blunders I made while dorking around with this crap was “upgrading” the Connected Machine Extensions. Yeah… don’t do that. Validation and creation DEPEND ON the absolute version of the extensions matching. Upgrading them will put you in a world of hurt. Allegedly there’s a rollback feature (I’ve not been able to figure that out), but good luck finding it.
If you’re in the same boat and scrambling to figure out how to undo the bonehead move that got you into this mess without completely reloading the OS via the ISO:
Update: Garmin’s Response Sends a Clear Message – Privacy Conscious Users Should Seek Alternatives
I recently shared that Garmin Connect 5.14.1, released on July 7th, renders the app unusable for those using it in a Private Space or Work Profile. I was able to confirm this: reinstalling the App from the Play Store still results in a crash on launch. The previous version of the APK (5.14) from APKMirror works just fine, indicating the issue is directly related to the most recent app update – and its compatibility with profiles.
I contacted Garmin’s Android Dev team with a detailed report, including the crash log. What followed was an appalling response.
Hello Jimmie,
Thank you for contacting Garmin. Due to this issue involving the use of Graphene OS and not official Android, this is not something that we are able to provide support for. If you encounter the same issue while using an official version of Android, please let us know.
Their response essentially offers zero support for users using “unofficial Android.” Reading their linked App Compatibility requirements, however, I see no explicit mention that they do not support GrapheneOS.
Android Support:
Android Operating System 9 or higher

Compatible with phones and tablets

Android device must natively support Google Play™ Store
Based on their own statements above, my Phone meets their support requirements!
This stance from Garmin is unacceptable. Garmin is effectively punishing users for prioritizing security and privacy by restricting access to their own data. This not only undermines user privacy but also creates a frustrating experience for those seeking to manage their data securely.
Why This Matters:
Security & Privacy: Using profiles (like Private Spaces) is a key security and privacy best practice. Garmin’s response discourages this behavior.
User Experience: Garmin is actively breaking functionality for a significant portion of their user base.
Accountability: This incident highlights a lack of testing and consideration for diverse Android usage patterns.
What Can You Do?
Avoid Update 5.14.1: If you’re a profile user, do not update Garmin Connect. You can disable automatic updates for the App in the Play Store.
Share Your Experience: Leave a review of the App on the Play Store. Mention your profile usage and the app’s failure.
Contact Garmin:Product.Support@garmin.com. Let them know you expect a timely fix that doesn’t penalize users for prioritizing security and privacy.
Spread the Word: Share this post with anyone who might be affected.
CC Garmin on Your Complaints: When you complain, CC the following advocacy groups to amplify the issue:
If you use the Garmin Connect app in a Private Space or Work Profile, AVOID THIS UPDATE!
It seems that the most recent update to Garmin Connect might prove problematic to those that use the Android app in any kind of profile. I’m running the latest GrapheneOS 2025070800 on a Pixel 9 Pro with the Play Store version of Garmin Connect 5.14.1 released Jul 7th and it now crashes repeatedly on launch.
The app worked fine in a Private Space profile before this update. To verify, I reinstalled the app from GPlay Store which still repeatedly crashed on launch after login. I then grabbed the APK from APKMirror – specifically 5.14 (9901) – which installed and runs without issue. Based on the error message in the attached log, I’m guessing that the problem has to do with running in a profile…
type: crash
osVersion: google/caiman/caiman:16/BP2A.250705.008/2025070800:user/release-keys
userType: profile.private
flags: dev options enabled
package: com.garmin.android.apps.connectmobile:9905, targetSdk 35
process: com.garmin.android.apps.connectmobile
processUptime: 3885 + 467 ms
installer: com.android.vending

java.lang.UnsupportedOperationException: SDK version too low or running in a profile
    at oy.o.invoke(Unknown Source:183)
    at CW.u.getValue(Unknown Source:20)
    at oy.p.n(Unknown Source:2)
    at oy.p$d.invokeSuspend(Unknown Source:63)
    at JW.a.resumeWith(Unknown Source:8)
    at uY.P.run(Unknown Source:120)
    at AY.i$a.run(Unknown Source:3)
    at DY.i.run(Unknown Source:2)
    at DY.a$c.run(Unknown Source:93)
    Suppressed: kotlinx.coroutines.internal.DiagnosticCoroutineContextException: [D0{Cancelling}@3445855, Dispatchers.IO]
I sent this to Garmin’s Android Dev team. Fingers crossed they address is quickly!
I hate media today. “You won’t believe THIS!” “5 tricks Airlines hope you NEVER LEARN!” “13 stupid mistakes DESTROYING your automatic car!” “NO ONE can explain THIS!” </eye roll>
What’s with all this sensationalist title nonsense? And with these horrendous thumbnails every video now has? Has anyone actually looked at YouTube lately? It’s disgusting. I usually avoid Google anything, but there are certain YT creators whose videos I watch via GrayJay — for whatever reason this morning I happened to be on my laptop instead of my phone (GrayJay kinda sucks on Linux, still) and opened up YT in my browser… I lasted 2 minutes before closing the tab.
I can’t even bring myself to watch something with such a ridiculously stupid title. Gross. 🤮
You’re out. Goodbye. You will NEVER get another dollar from me. I bought it, it’s mine. :-*
Nintendo updated its Nintendo Account Agreement with a severe warning against “unauthorized use”, in a bid to prevent emulation and piracy.
The US update is as follows: “Without limitation, you agree that you may not (a) publish, copy, modify, reverse engineer, lease, rent, de-compile, disassemble, distribute, offer for sale, or create derivative works of any portion of the Nintendo Account Services; (b) bypass, modify, decrypt, defeat, tamper with, or otherwise circumvent any of the functions or protections of the Nintendo Account Services, including through the use of any hardware or software that would cause the Nintendo Account Services to operate other than in accordance with its documentation and intended use; (c) obtain, install or use any unauthorized copies of Nintendo Account Services; or (d) exploit the Nintendo Account Services in any manner other than to use them in accordance with the applicable documentation and intended use, in each case, without Nintendo’s written consent or express authorization, or unless otherwise expressly permitted by applicable law. You acknowledge that if you fail to comply with the foregoing restrictions Nintendo may render the Nintendo Account Services and/or the applicable Nintendo device permanently unusable in whole or in part.”
The updated “NEVER AGAIN” list: Google. Netflix. Amazon. Meta. Nintendo.
Chris Titus wrote an article (and did a video!) about cleaning Arch Linux. I wanted to add a bit more that I find helpful – something that he didn’t cover: Uninstalling UNUSED dependencies!
He covered cleaning the pacman cache, pruning timeshifts, checking usage and several other things, but not removing orphaned dependencies. Here’s a great little one liner to do just that:
sudo pacman -Rsn $(pacman -Qdtq)
A quick explanation of what you’re doing:
The inner $(pacman -Qdtq) fetches the list of orphaned dependencies that were explicitly installed but are no longer required, setting the result of the output to a variable passed to the outer pacman -Rsn command.
-Q: Query
-d: Filter packages installed as dependencies
-t: Filter un-required packages not (optionally) required by any other package
-q: format results in a less verbose manner for passing to another command
The outer pacman -Rsn
-R: Remove a package.
-s: Recursively remove dependencies no longer needed by any other installed package.
-n: Avoid keeping backup copies of the configuration files, making the removal more thorough.
As always, don’t just blindly run commands from the internet. Go validate what you just read on the Arch Wiki. I hope this helps! 🙂
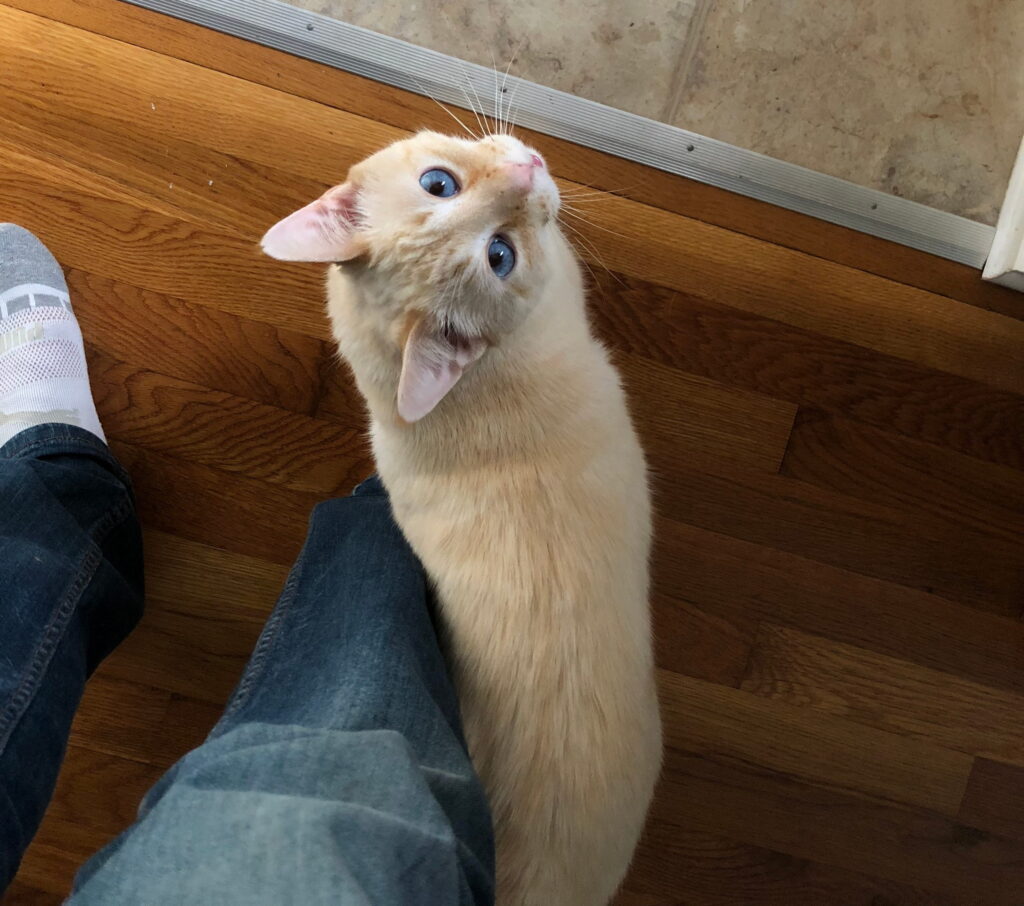
She didn’t ring the bell; she just stood there at the edge of the porch, her gaze meeting mine through the glass of the living room window. The silence seemed deliberate, a prelude to the inevitable. Death was shorter than I imagined, but with a kind, gentle smile. She carried with her a small black leather bag of endings come too soon. He didn’t even acknowledge her as she knelt near him, her presence jarring, an unwelcome intrusion into the familiar warmth of our living room – a space he long made our home. Grief tightened its grip on my heart as I realized the immediacy of what loomed.
We had spent his final day doing everything he wanted. 5:00 am would have otherwise seen me irritated had it not been for his cheerful chirps and beautiful purring face. Breakfast was a buffet of tuna, salmon, and chicken breast. Things normally given as special treats were heaped into small mounds. We trekked outdoors, side by side, through lands of previously forbidden exploration. It hadn’t struck me then, but this was our final sunrise. Springtime, though cold and crisp, provided many interesting things to investigate. By the afternoon, he was tired and ready for cuddles. The last photo in my camera roll is of him, snuggled down warmly into my lap.
It was the last gift that I could give him, to hold him in my arms as he crossed while I could not. I couldn’t bear the thought of him dying in any other way. He fought against the drugs, he fought to stay there in my arms. I felt his last breath, the last beat of his little heart, as he left this place. I kissed his forehead and whispered, “I love you, forever. I release you, Nico. Don’t linger, please. Go now.” Placing his lifeless body into the basket was a bizarre experience, a symbolic echo of a deeper loss not yet understood. It felt akin to watching someone eviscerate their own heart, tending to the raw, exposed chambers with a meticulous care, before placing the offering into a neat basket before them – a final, unbearable act of surrender. It still feels like I’m watching in third person, as if living a bad dream.
These past nights have all bled together, a wash of tears and fragmented dreams. Even sleep offers no lasting comfort. As the edges of the dream begin to fray, I awake to reality – a choked sob escapes before I can catch it. “Please, not yet.” Let me fall back asleep before… it’s as if the recording has skipped and something was missed. I’m suddenly aware of the wetness against my cheek – a pillow soaked with tears.
I’m thrust into the new day without him. A new life that began with his death, a life now haunted by his absence. A life where what day it is carries no consequence. I’ll wallow here for however long, unkempt, unshowered, and inconsolable. But a new anxiety rises, a silent demand to return, to feign normalcy. The fear of losing everything – my job, my stability – pressed down, amplified by the unspoken judgment: ‘It was just a cat.’ How do I now answer ‘How are you?’ How do I explain grief layered upon exhaustion and the lingering pain of letting go when I desperately wanted to hold on? How do I confront this new dread of facing their pity, their judgement? This is a place I never wanted to reach, but now can not escape.
Yes, I’m crying for my cat. What being ever sensed my feelings and offered comfort without the need for words? What person ever showed me so much unconditional love?
What was once home – a space filled with his warmth, woven into every activity and corner of the house – is now just an empty shell of walls. He was my home. His space, his presence, hasn’t disappeared. It lingers. It’s now a void, a stillness ringing with what was.
A sense of guilt washes over me, again. I watch as you sleep, restlessly. Your ears and whiskers twitch as you dream, someplace beyond this cruel reality I’m trapped within. I feel foolish. I’ve secretly held my hopes high, but the truth of things comes ever more steadily into focus, crushing the dream I’ve managed cling to. Why must it be this way? Why does hope erode in such jagged and agonizing contortions?
I’ve asked so much of you that I feel ashamed of how selfish I’ve been; I can’t bring myself to let you go. While all this time, you’ve fought so hard to hold on for me. You’ve weathered my constant toil, the pills, the feedings. My chest heaves as hot blood rushes to my face and tears streak down my cheeks, falling silently into the abyss. I hold my breath to silence a sob.
I’ve wondered if perhaps this final time together is a gift.Taking care of you; forcing you to eat felt both wrong and right. I was your will when you had none. But now I question whether I’ve done the correct thing. Am I prolonging your suffering?
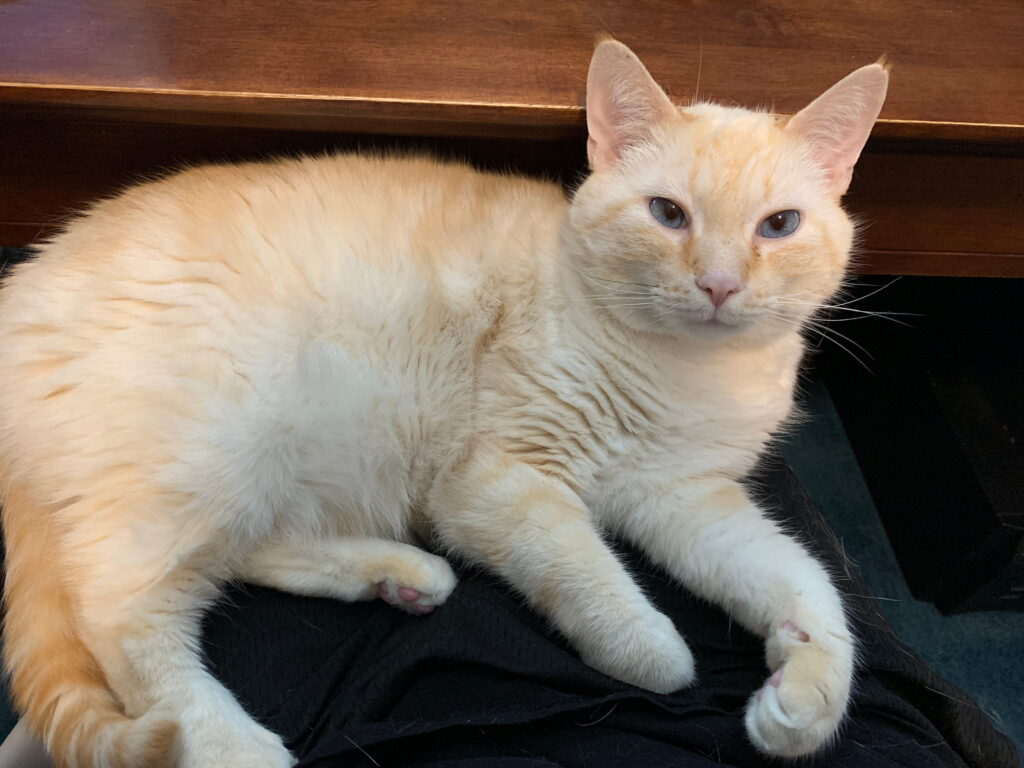
You’re still MY Nico. But our pain has changed us both. You still seek my comfort, but it’s more slowly, cautiously, as if the wrong move will hurt. I breathe shallowly, careful not to disturb your uneasy cuddles atop me. Watching every twitch of your body in anticipation that I’ve moved too much.
I don’t want you to go. I don’t want you to leave me here, alone. I want to come too. When you last close your eyes, let me cross with you. I know I cannot.
Let me carry you across the divide. Let me take your pain.
I’m scared. I sit here swallowing my own heart. I’ve tried to tread every step with a planned and careful thoughtfulness, to base every agonizing decision out of love, and attempt to anticipate the outcome. The possibilities and uncertainty are tearing me to pieces.
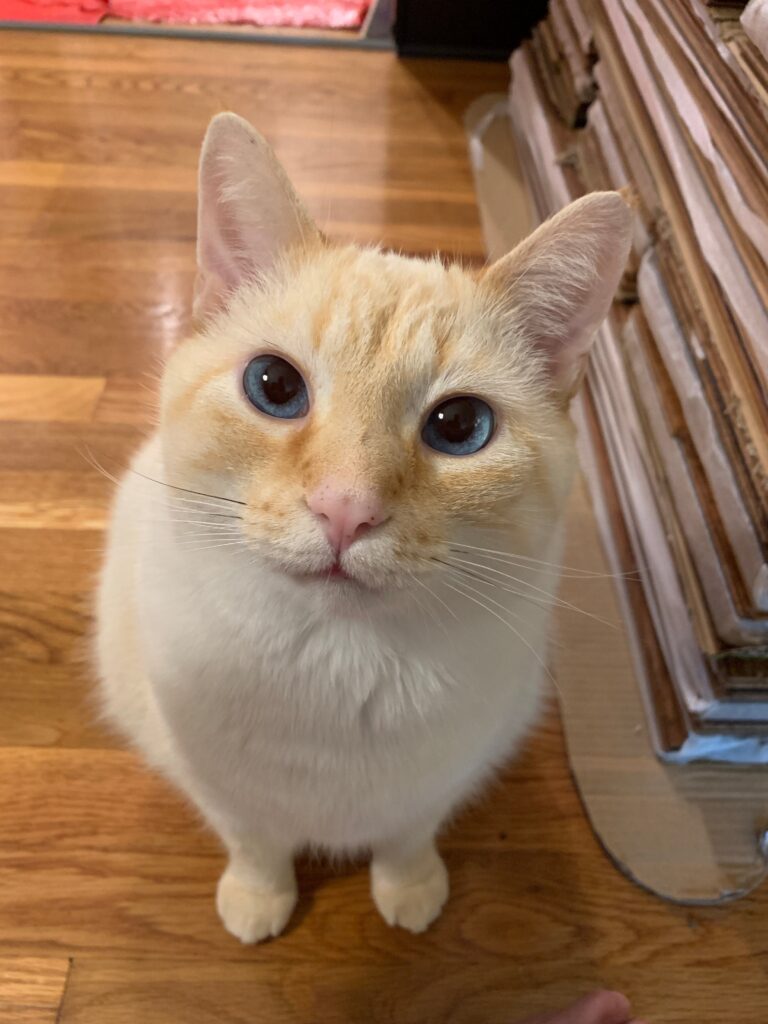
Nico is my heart. He isn’t a pet, he is my family. He’s part of me. To lose him is to lose a piece of myself. I think of Antoine de Saint-Exupéry’s words in The Little Prince: “you become responsible, forever, for that which you’ve tamed.” I am forever bound to him, just as he has quietly, steadily tamed a space within my heart – a vulnerability and joy I never knew existed. He is comfort and unconditional love. Nico finds solace in being as close as possible, always nestled in my lap, or sprawled, purring, on my chest when I lie down. It’s a comforting reassurance, a tangible expression of his unwavering affection. But under his tiny fur-covered body, the looming weight of responsibility feels immense.
The what-ifs are relentless and excruciating. Decision fatigue already has me worn thin. That I can’t know the future, that it can’t be predicted or guaranteed, is emotionally draining. It feels so wrong, but the anticipatory grief and pain of potential loss, the thought of possibly not saying goodbye… or having to – has me frozen in fear.
So, here I wait, stuck, terrified, in a situation that might truly be unfixable. I’m trying to focus on providing comfort and love, to appreciate all of the small things, and to cherish whatever time is left. These moments are now treasures, held tight against a despair I cannot silence – a rending that comes not from absence, but from the agonizing glimpse of what is to be lost.
Hot tears sting my eyes, a bitter offering to the shadow I feel falling across my soul – a silent acknowledgement of a loss that could unravel my very being. The certainty of the coming sorrow darkens even the sweetest joys. A crushing weight aches within my chest, a raw and painful reminder of what will very soon be. Despite my brokenness, I desperately plea with the darkness: I must believe that if this is goodbye, please let it be only temporary. If there is something more after we leave this place, let me forever choose to come back for just the chance to meet him and love him again.
It seems to me that I’ve had quite a bit of bad luck lately. I’m truly not sure what I’ve done to offend lady Karma, but she has since responded and laid her divine retribution squarely on my shoulders, consistently, for the past month. While I do not understand, I am listening, I amlearning, I am trying… but I’m struggling to hold it together. I personally do not believe in god or prayer, but I do believe in good vibes and positive thoughts. Whatever you believe, if you want to offer anything, I only ask that you please don’t offer it for me. I will manage. Please offer them for my kitty boy, Nico. <3
Nico, you are daddy’s heart in furry pajamas. I love you <3